General Settings
Configure release and debug
The ByteHide extension allows you to apply security settings only on the Build Profile of your choice. You will have full control over when you want to use it. You can choose to do it only in the Release Build or in the Debug Build.
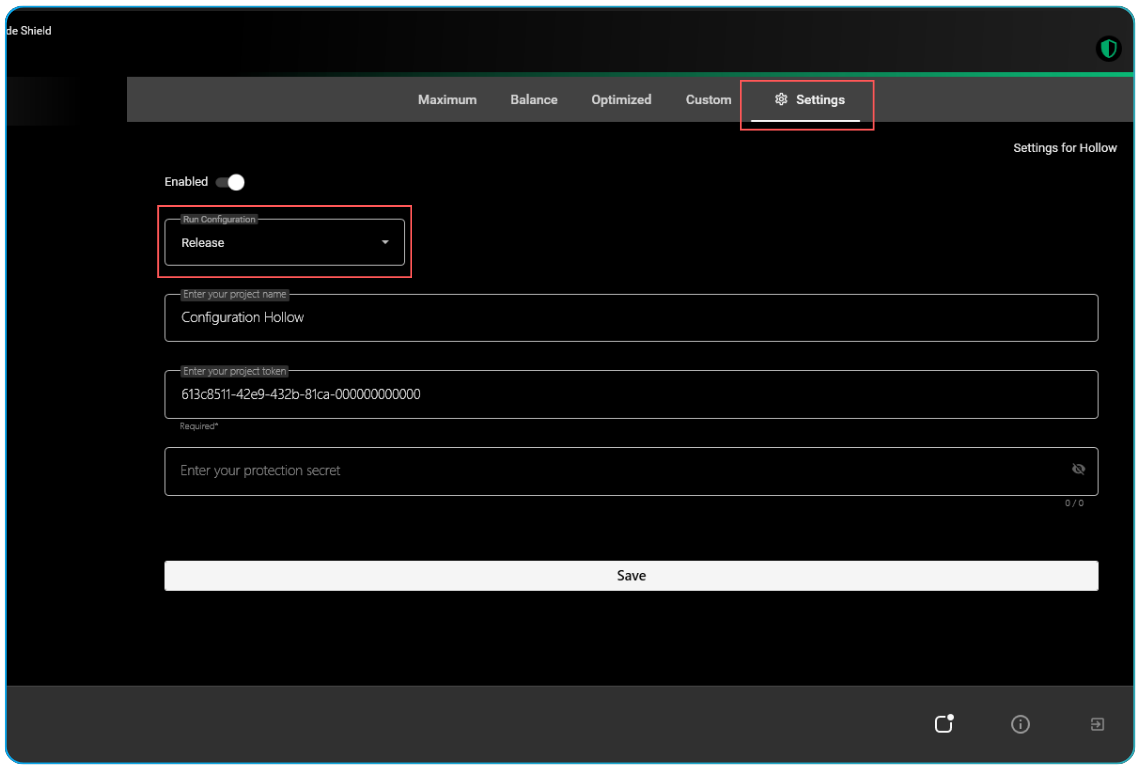
You can also configure the execution of the ByteHide Shield protections during any of the Custom Build Profiles you have.
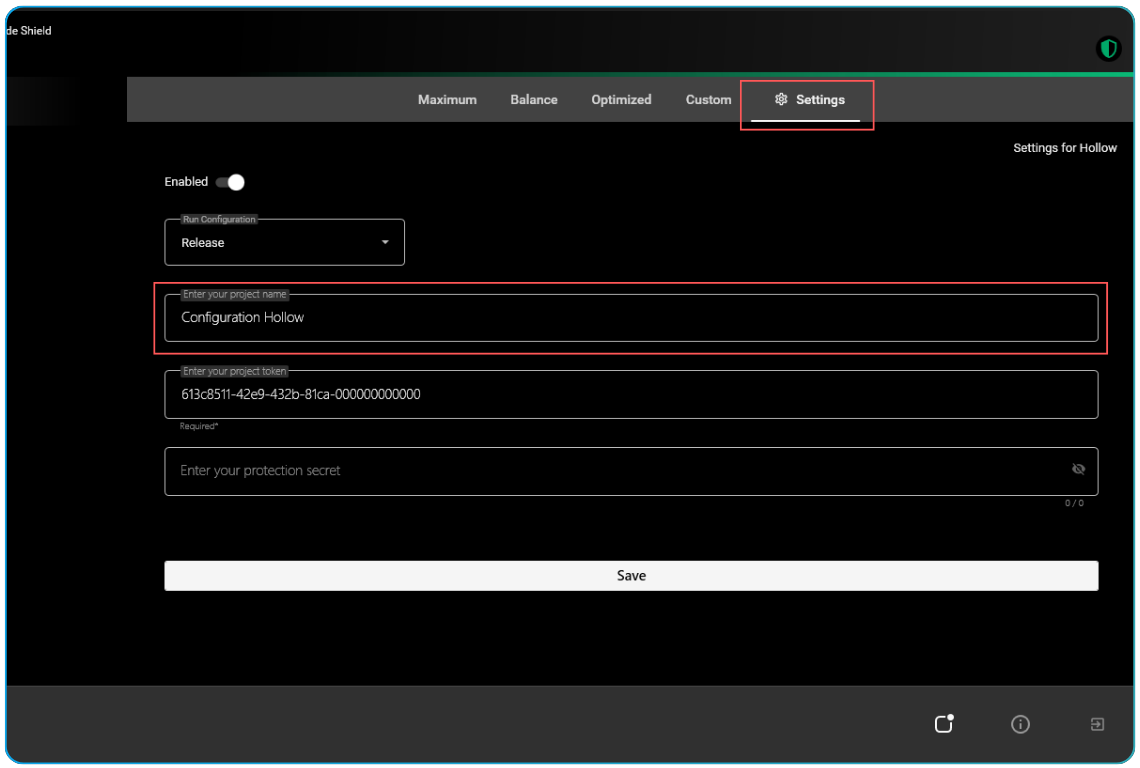
Project's name
The name of the project will be the name of the solution in Visual Studio, but this can be edited. The application will be associated with the project in the ByteHide account of the user who is logged in at that time. Or one will be created with that name.
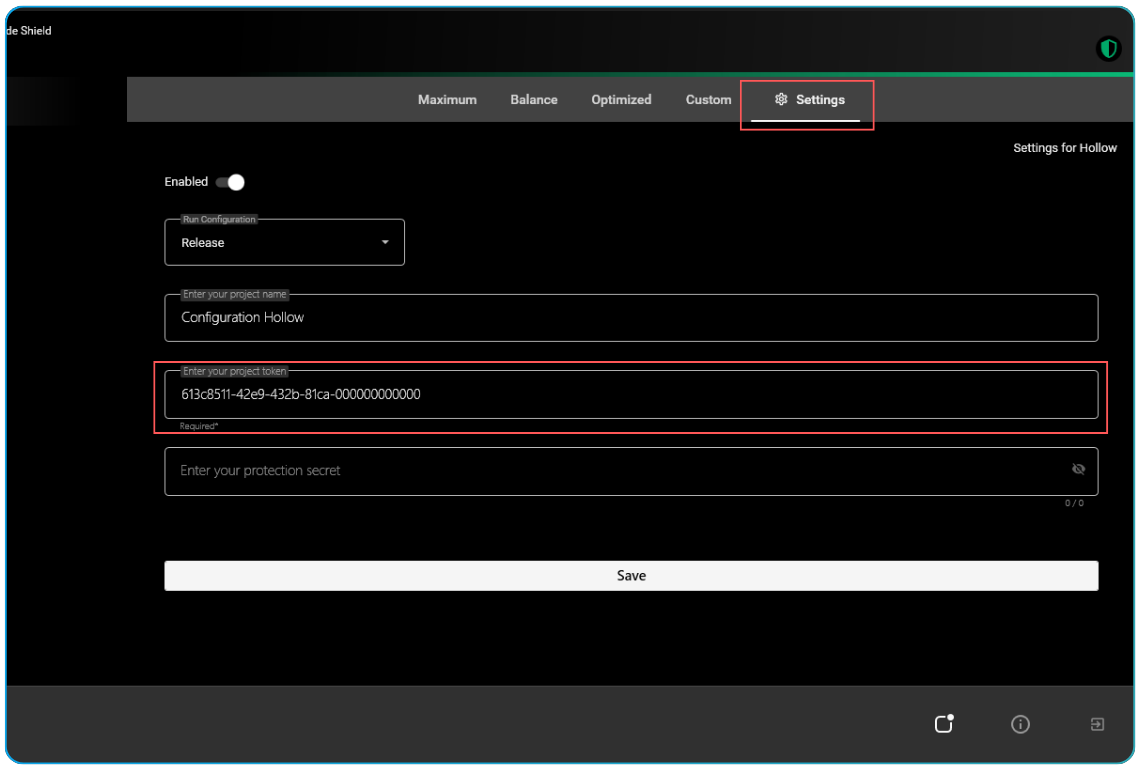
Project's token
To enable Shield protection in your compilations, you need to associate it with your ByteHide account. This ensures synchronization and streamlines the process for you.
If you haven't obtained your PROJECT TOKEN yet, please retrieve it from the ByteHide panel before proceeding.
Protection Secret
This secret is used to deobfuscate tracking exceptions.

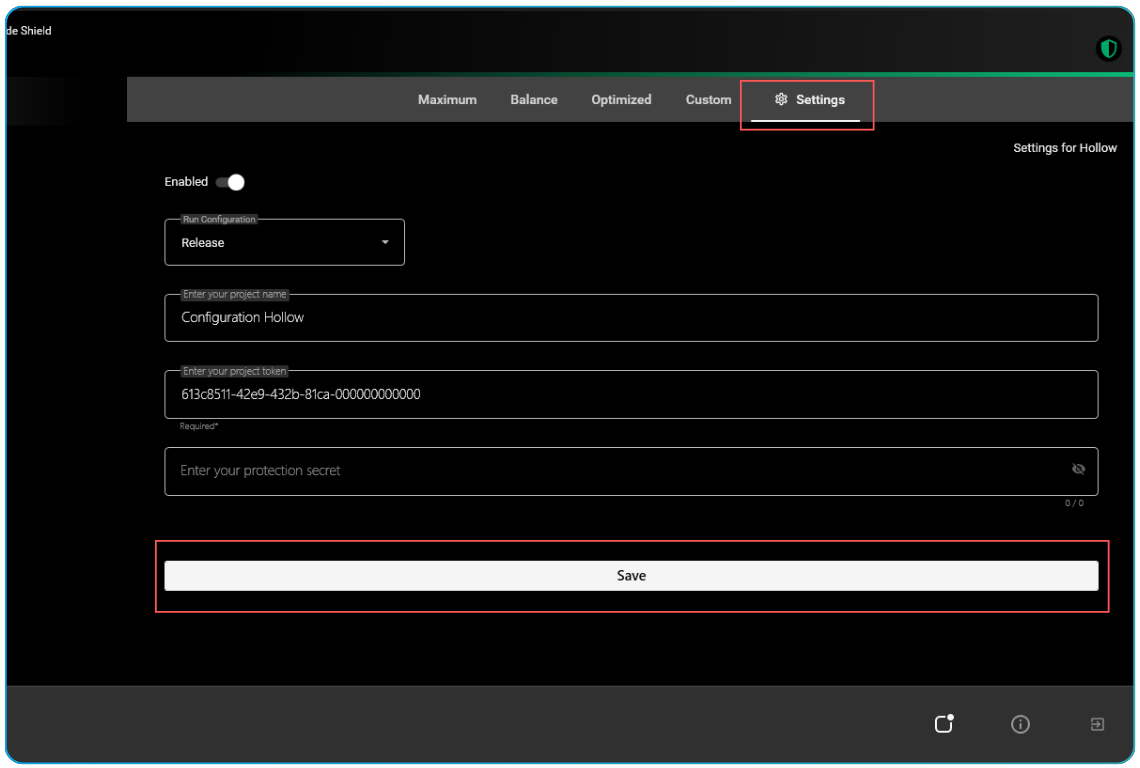
Save settings
After configuring the settings, click on the Save button to save the settings.