Install
Shield Integration is a simple package that allows you to protect your .NET application without extra configurations or processes, it is added in the compilation process regardless of whether it is from Visual Studio, Amazon Web Services, * Azure* or any other provider.
Install
You can install ByteHide.Shield.Integration in different ways.
To protect multiple projects, install ByteHide Shield Integration in each project individually (as they are compiled separately). For instance, if your project consists of multiple packages, and you intend to protect only one, install ByteHide Shield Integration solely in that specific project. Installing ByteHide Shield Integration across all projects and configuring only one can lead to build errors.
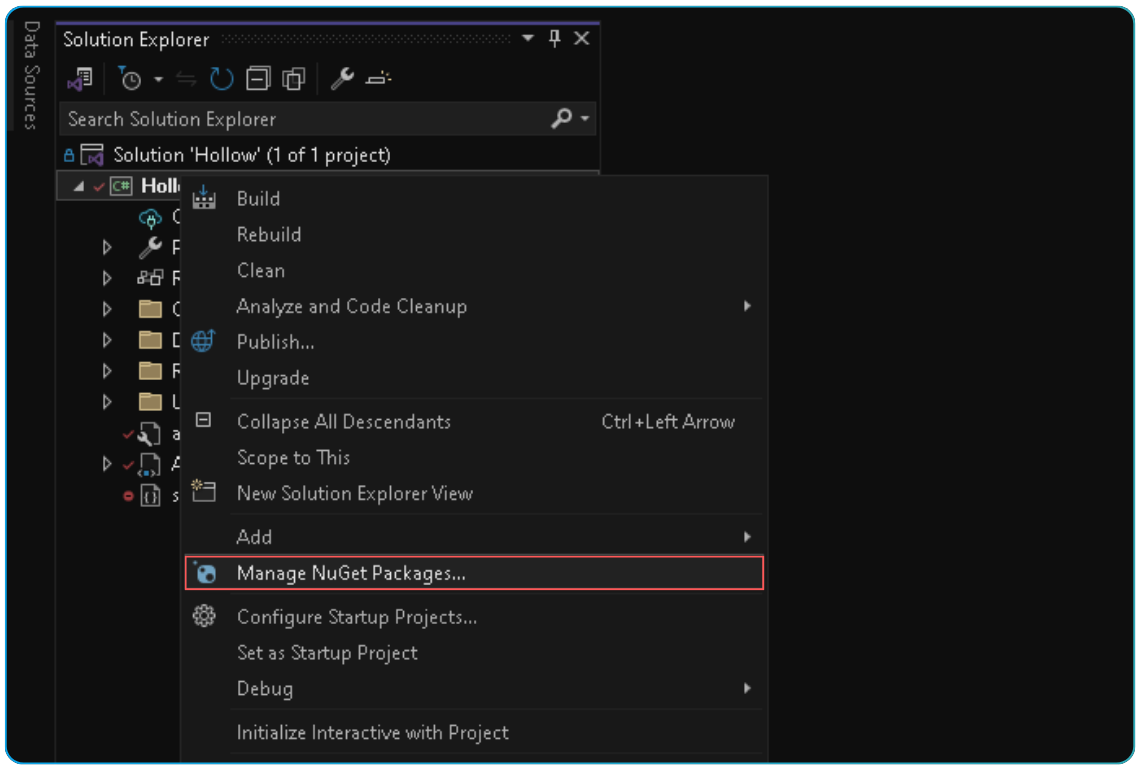
From NuGet Packages Manager
Open the nuget package manager:
Search for ByteHide.Shield.Integration in the manager search bar:
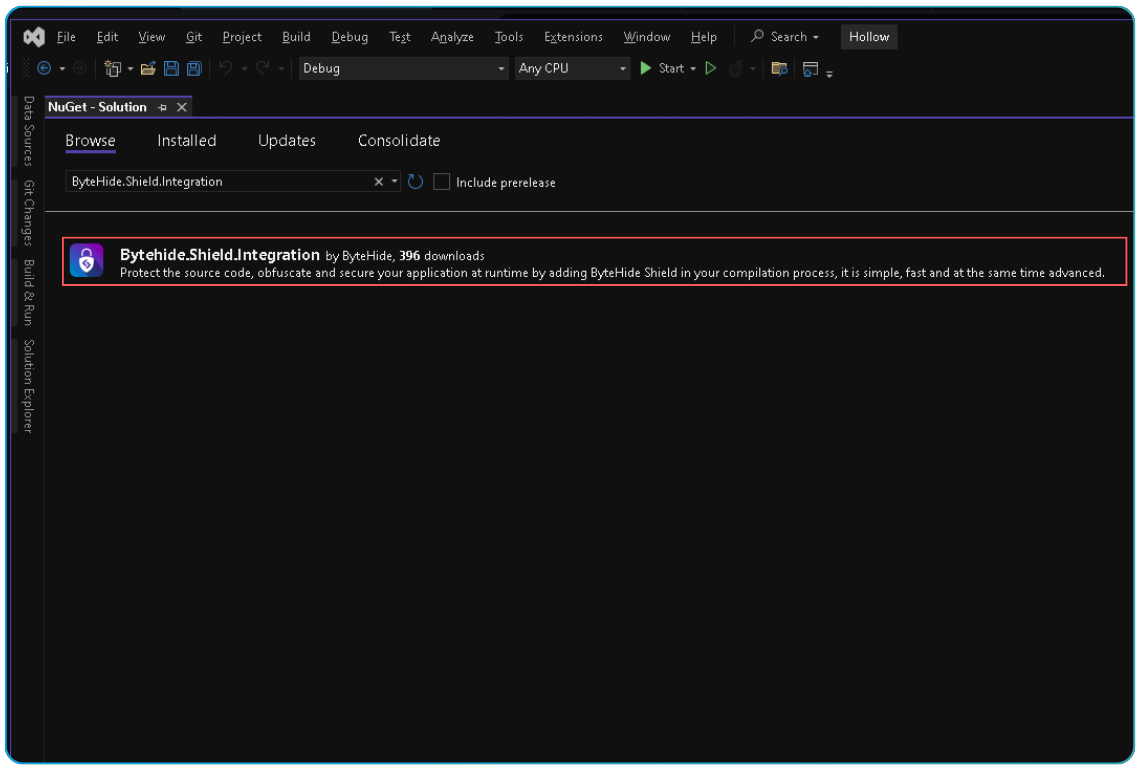
Select the latest stable version and click on install:

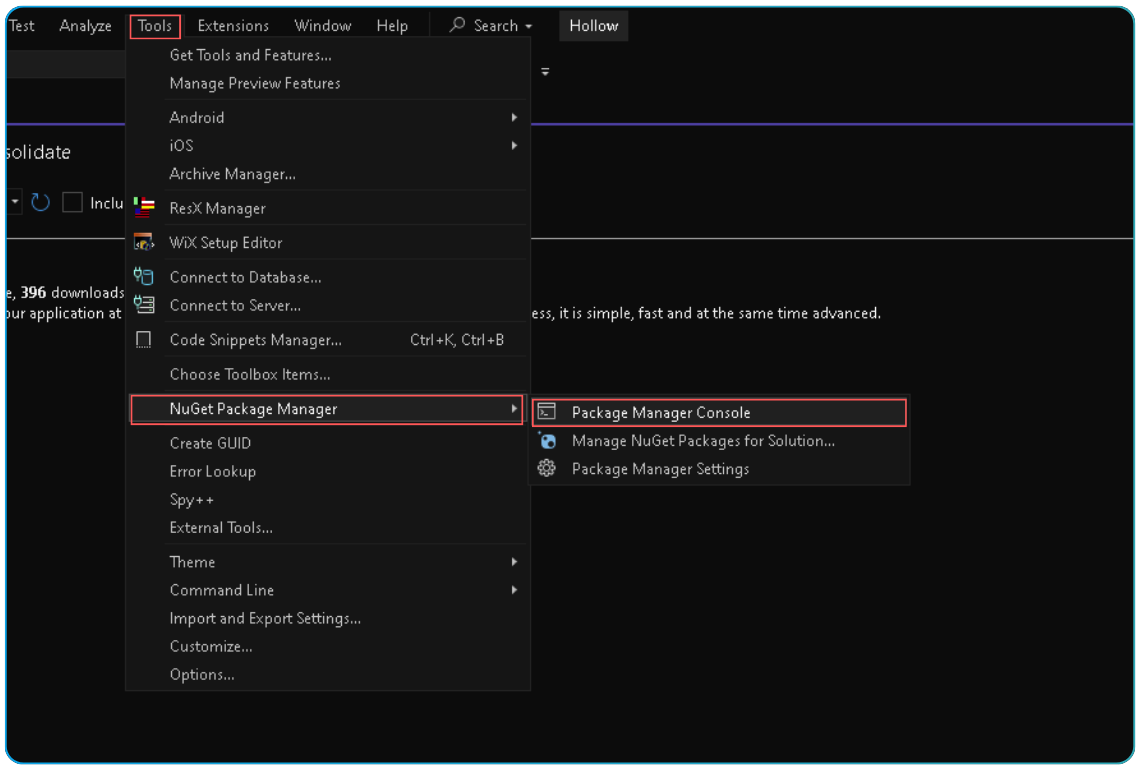
From Package Manager Console
In your visual studio window go to: Tools > Nuget Package Manager > Package Manager Console
In the terminal type: Install-Package ByteHide.Shield.Integration
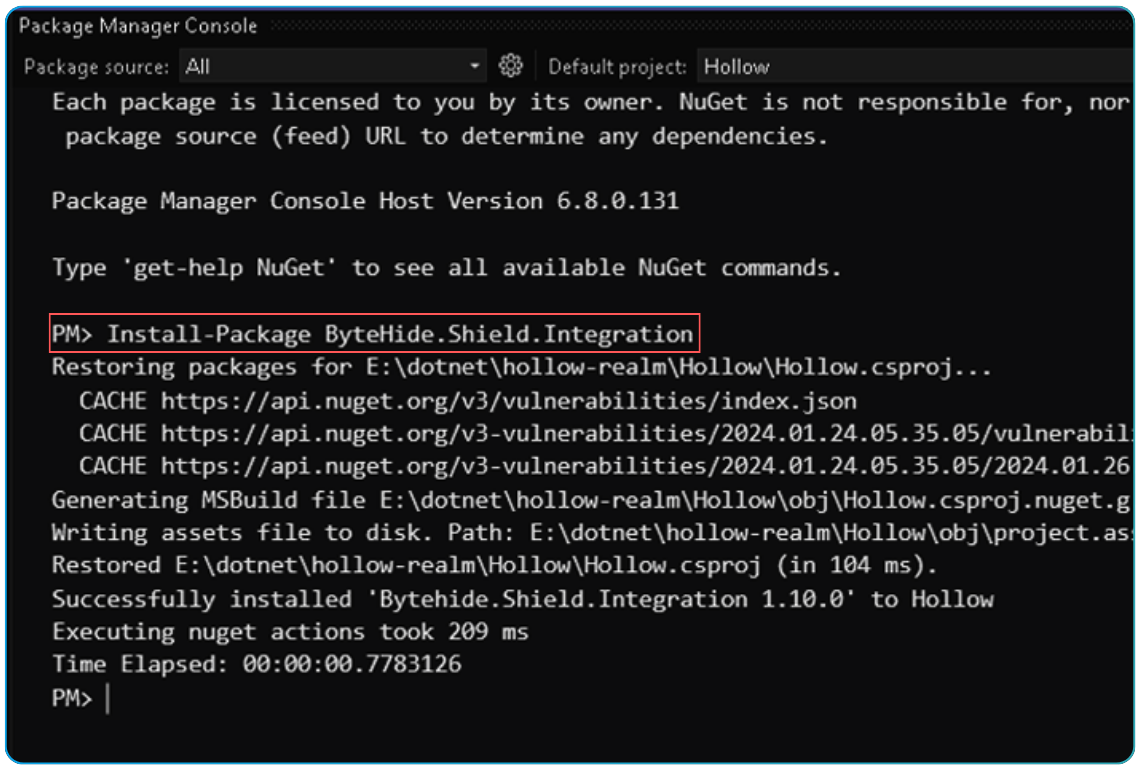
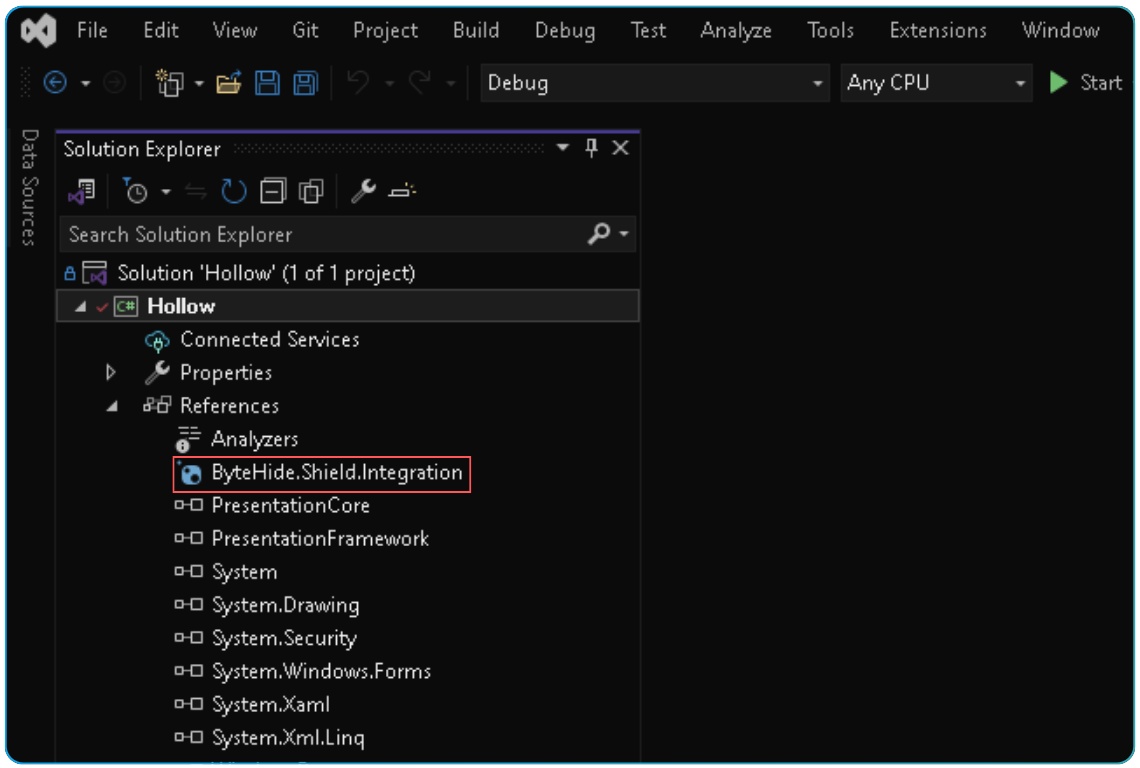
After adding it, save the file and check that it has been installed correctly:
You must rebuild your project to apply the changes.